링크 해당 링크에 들어가준다.
Teachable Machine
Train a computer to recognize your own images, sounds, & poses. A fast, easy way to create machine learning models for your sites, apps, and more – no expertise or coding required.
teachablemachine.withgoogle.com
1, 모델 학습시키기
캠을 켜면 아래와 같은 화면이 나오게 된다.

동작1마다 클래스로 지정해서 학습시켜준다.
지금할 프로젝트는 가만히 있으면 알람이 멈추고,
오른쪽이나, 왼쪽으로 고개를 젖히는(즉, 조는 상황이라 가정) 상황에서는 알람이 울리도록 해줄것이다.
아래 이미지를 보면 내가 왼쪽으로 고개를 기울이고 버튼을 눌러 녹화한 이미지들을 확인할 수 있다.
이렇게 생긴 샘플들을
나중에 모델 학습시키기에서 학습하게 될 것이다.


버튼을 클릭하면 학습을 시작한다.

2. 동작 구현.
모델 내보내기 버튼 클릭

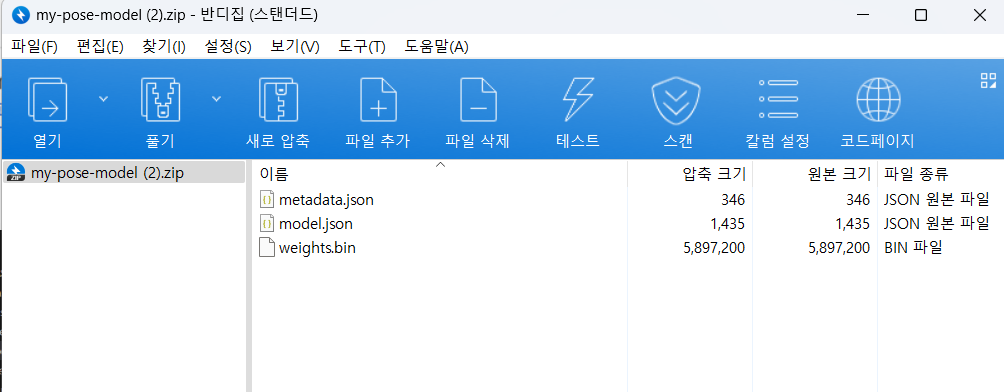
아래와 같은 화면이 나오면 '모델 다운로드 클릭'

이 파일 안의 것들을 같은 폴더에 저장한후,
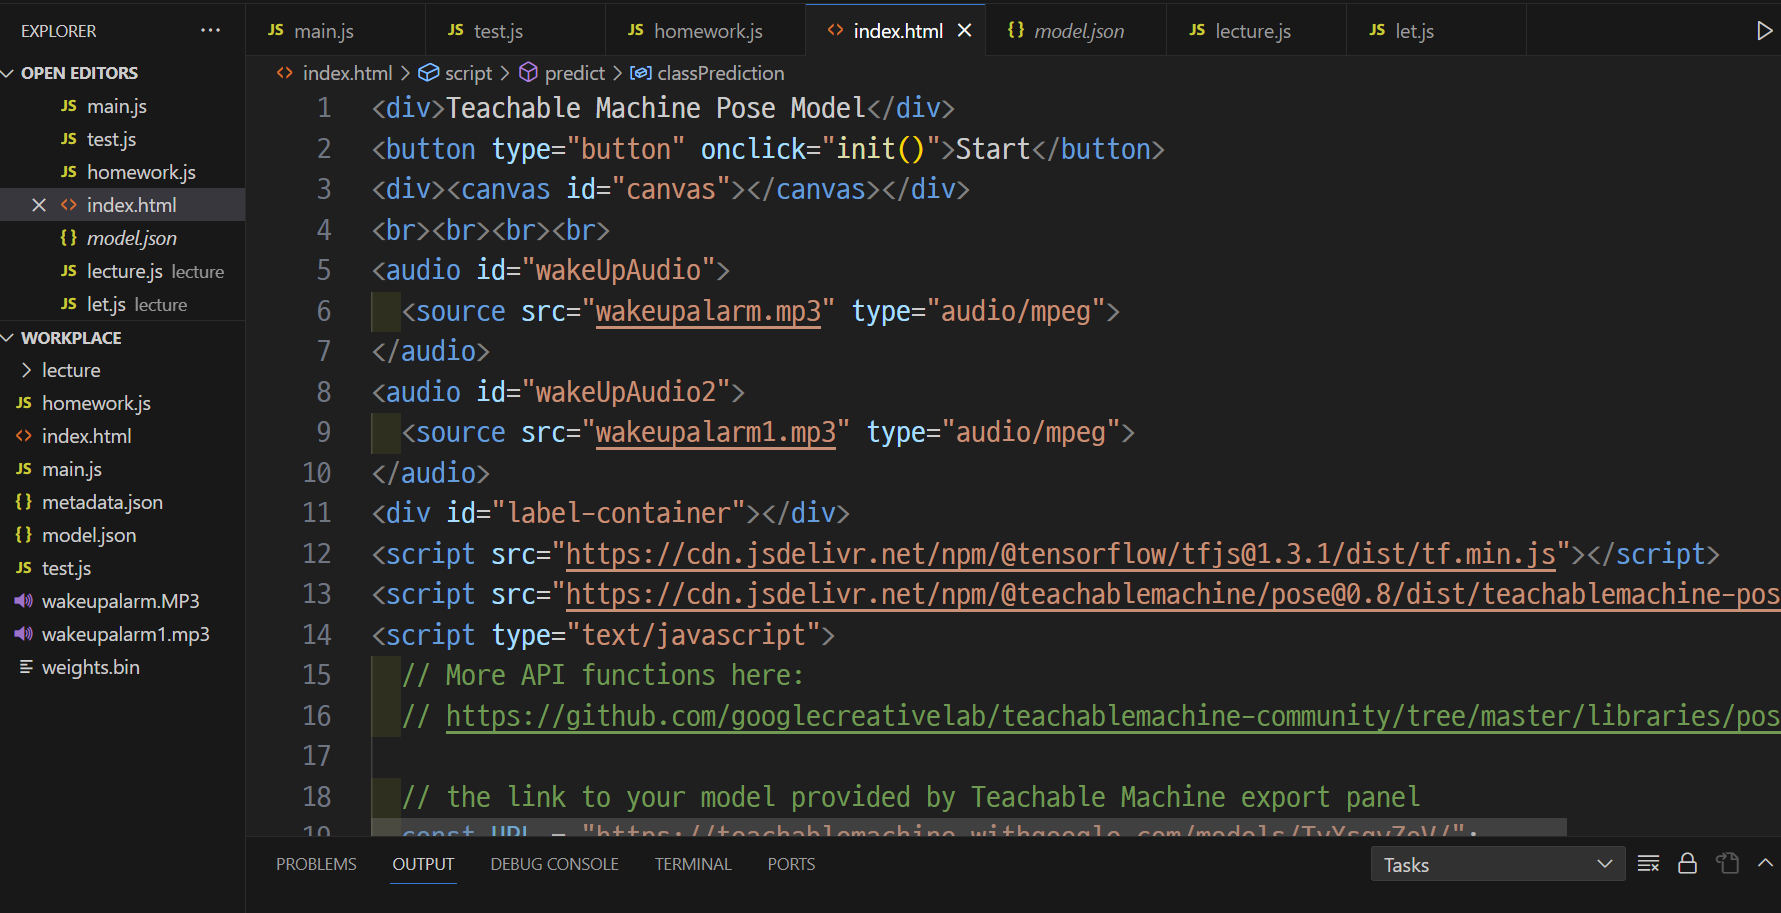
index.html 파일에 아래의 javascript 코드를 복사 후 붙여 넣기 한다.(그대로)

파일들을 폴더에 옮긴 후, index.html에 코드를 복붙한 모습.
html 코드 아래로 URL 변수가 보일 것이다. 그 주소를 우리가 생성해서 붙여넣어야 한다.
<div>Teachable Machine Pose Model</div>
<button type="button" onclick="init()">Start</button>
<div><canvas id="canvas"></canvas></div>
<br><br><br><br>
<audio id="wakeUpAudio">
  <source src="wakeupalarm.mp3" type="audio/mpeg">
</audio>
<audio id="wakeUpAudio2">
  <source src="wakeupalarm1.mp3" type="audio/mpeg">
</audio>
<div id="label-container"></div>
<script src="https://cdn.jsdelivr.net/npm/@tensorflow/tfjs@1.3.1/dist/tf.min.js"></script>
<script src="https://cdn.jsdelivr.net/npm/@teachablemachine/pose@0.8/dist/teachablemachine-pose.min.js"></script>
<script type="text/javascript">
  // More API functions here:
  // https://github.com/googlecreativelab/teachablemachine-community/tree/master/libraries/pose

  // the link to your model provided by Teachable Machine export panel
  const URL = "https://teachablemachine.withgoogle.com/models/TyXsqvZoV/";
  let model, webcam, ctx, labelContainer, maxPredictions;
구글 티쳐블 화면으로 돌아가서 모델 업로드 클릭.
공유 가능한 링크에 새롭게 주소가 생길것이다. 그것을 복붙해서 index.html의 url 변수값을 수정한다.


2-1 오디오 파일 연결하기
'원하는 오디오파일1'
'원하는 오디오파일2'
내가 저장한 오디오 파일에 맞게 수정하자.(아래 코드 긁어갈 때, url 본인 것으로 수정도 잊지말기)
<div>Teachable Machine Pose Model</div>
<button type="button" onclick="init()">Start</button>
<div><canvas id="canvas"></canvas></div>
<br><br><br><br>
<audio id="wakeUpAudio">
  <source src="'원하는 오디오파일1'.mp3" type="audio/mpeg">
</audio>
<audio id="wakeUpAudio2">
  <source src="'원하는 오디오파일2'.mp3" type="audio/mpeg">
</audio>
<div id="label-container"></div>
<script src="https://cdn.jsdelivr.net/npm/@tensorflow/tfjs@1.3.1/dist/tf.min.js"></script>
<script src="https://cdn.jsdelivr.net/npm/@teachablemachine/pose@0.8/dist/teachablemachine-pose.min.js"></script>
<script type="text/javascript">
  // More API functions here:
  // https://github.com/googlecreativelab/teachablemachine-community/tree/master/libraries/pose

  // the link to your model provided by Teachable Machine export panel
  const URL = "https://teachablemachine.withgoogle.com/models/TyXsqvZoV/";
  let model, webcam, ctx, labelContainer, maxPredictions;

  // functions to play and pause audio file
  var aud = document.getElementById("wakeUpAudio");
  var aud2 = document.getElementById("wakeUpAudio2");
  function playAud() {
    aud.play();
  }
  function pauseAud() {
    aud.pause();
  }
  function playAud2() {
    aud2.play();
  }
  function pauseAud2() {
    aud2.pause();
  }


  async function init() {
    const modelURL = URL + "model.json";
    const metadataURL = URL + "metadata.json";

    // load the model and metadata
    // Refer to tmImage.loadFromFiles() in the API to support files from a file picker
    // Note: the pose library adds a tmPose object to your window (window.tmPose)
    model = await tmPose.load(modelURL, metadataURL);
    maxPredictions = model.getTotalClasses();

    // Convenience function to setup a webcam
    const size = 200;
    const flip = true; // whether to flip the webcam
    webcam = new tmPose.Webcam(size, size, flip); // width, height, flip
    await webcam.setup(); // request access to the webcam
    await webcam.play();
    window.requestAnimationFrame(loop);

    // append/get elements to the DOM
    const canvas = document.getElementById("canvas");
    canvas.width = size; canvas.height = size;
    ctx = canvas.getContext("2d");
    labelContainer = document.getElementById("label-container");
    for (let i = 0; i < maxPredictions; i++) { // and class labels
      labelContainer.appendChild(document.createElement("div"));
    }
  }

  async function loop(timestamp) {
    webcam.update(); // update the webcam frame
    await predict();
    window.requestAnimationFrame(loop);
  }

  async function predict() {
    // Prediction #1: run input through posenet
    // estimatePose can take in an image, video or canvas html element
    const { pose, posenetOutput } = await model.estimatePose(webcam.canvas);
    // Prediction 2: run input through teachable machine classification model
    const prediction = await model.predict(posenetOutput);

    for (let i = 0; i < maxPredictions; i++) {
      const classPrediction =
        prediction[i].className + ": " + prediction[i].probability.toFixed(2);
      labelContainer.childNodes[i].innerHTML = classPrediction;
    }

    // don't play audio when head's neutral with probability >= 75%
    if (prediction[0].probability.toFixed(2) >= 0.75) {
      pauseAud();
      pauseAud2();
    } else {
      if (prediction[1].probability.toFixed(2) >= 0.75) {
        pauseAud2();
        playAud()
      }
      if (prediction[2].probability.toFixed(2) >= 0.75) {
        pauseAud2();
        playAud2()
      }
    }


    // finally draw the poses
    drawPose(pose);
  }

  function drawPose(pose) {
    if (webcam.canvas) {
      ctx.drawImage(webcam.canvas, 0, 0);
      // draw the keypoints and skeleton
      if (pose) {
        const minPartConfidence = 0.5;
        tmPose.drawKeypoints(pose.keypoints, minPartConfidence, ctx);
        tmPose.drawSkeleton(pose.keypoints, minPartConfidence, ctx);
      }
    }
  }
</script>
3. 화면에 띄우기
index.html을 열면 아래와 같이 나올것이다.
(단, 나처럼 chrome 보안문제로 화면이 나오지 않을 수 있으니, edge로 하는 것도 추천한다.)
크롬으로 바로 띄우던가, 나처럼 드래그를 통해서 오픈시키면 된다.
아래와 같이 화면이 뜨면 start를 누른다. 카메라는 당연히 허용해준다.
이제 기다리면 카메라에 내동작을 인식시키는 카메라 화면이 뜰것이다.


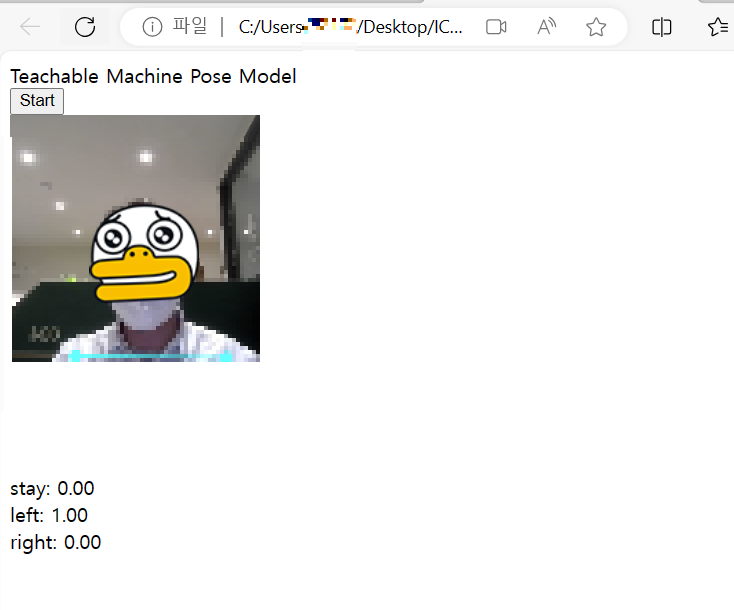
left로 숙여서 left값이 0.75이상이 되면 오디오1이
right로 숙여서 right값이 0.75이상이 되면 오디오2가 흘러나올 것이다.
stay 값이 0.75이상이면 소리가 즉시 멈출것이다.
'🗃️javascript > 프로젝트' 카테고리의 다른 글
| airport 앱 - 협업 프로젝트(특징, 결과, 느낀점). (0) | 2024.06.06 |
|---|---|
| airport 앱 요구사항 - 협업 프로젝트 (0) | 2024.06.06 |
| 메모장 만들기[경고창 발생, 페이지 나누기 ,ssr에 따른 템플릿사용결정] (0) | 2023.11.08 |
| node.js 게시판 만들기 (0) | 2023.11.06 |
| node.js로 html화면과 mysql 연결 및 값 저장 || query문 '?'쓰는 이유 (0) | 2023.11.04 |